See also: Your old toolbars are still there after you install Opus 10
Directory Opus 10's default toolbars have the Styles list in a menu:

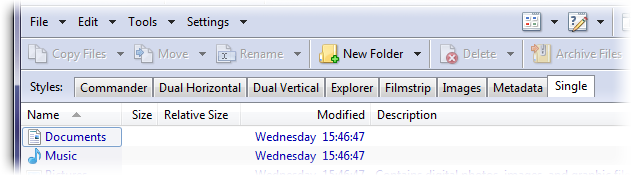
Directory Opus 9's default toolbars had a row of tabs, instead. You can still have that in Opus 10 if you want:
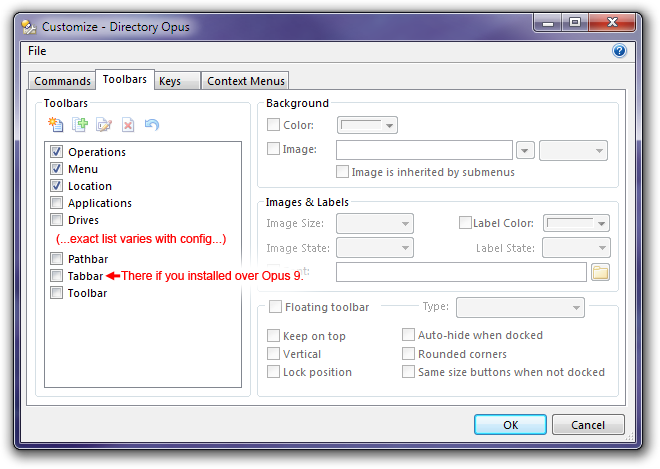
If you upgraded from Opus 9 to Opus 10, you may still have the old "Tabbar" toolbar, in which case you just need to turn it on:
- Go to Settings -> Customize Toolbars.
- Select the Toolbars tab.
- If Tabbar is in the list, simply turn it on and click OK.
If you don't have the old toolbar, don't worry; it is very easy to create from scratch.
You can add the tabs to an existing toolbar but you'll probably want to give them a whole row, so let's create a new toolbar for them to live on:
- Go to Settings -> Customize Toolbars and select the Toolbars tab, as before.
- Click the New Toolbar icon above the list of toolbars.
- Call the new toolbar "Tabbar" (or whatever you want).
You should now see a new, blank toolbar below your old ones. Now:
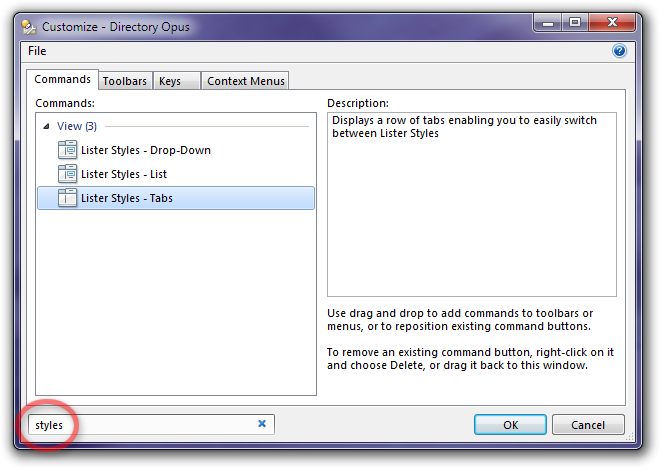
- In the Customize window, select the Commands tab.
- Type styles into the filter at the bottom of the window.
- One of the matching items should be called Lister Styles - Tabs.
- Drag the item out of the Customize window and drop it on your toolbar.
While in Customize mode, you won't see the actual tabs; instead you'll see a placeholder that designates where the tabs will appear. (Click OK in the Customize window to save your changes and make the tabs appear.)
While in Customize mode, you can right-click the placeholder to change how the tabs will look. For example, the Use Visual Styles option will draw them in a different style:
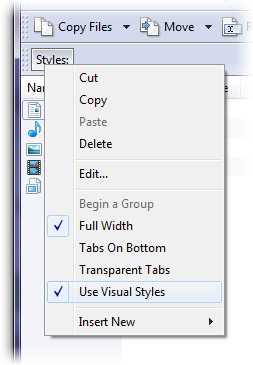
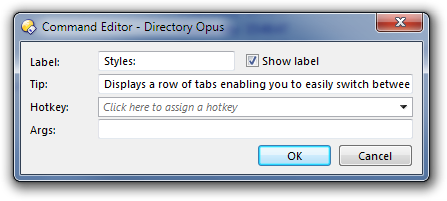
Also, if you choose Edit... in the same menu, you can change or remove the "Styles:" label that appears to the left of the tabs: