Assuming I've understood what you want to do correctly, here is a way to do it using Styles so that you get (in my example) Recent JPG and Recent TXT tabs which show you the .JPG and .TXT files in your Recent folder.
You could also do something similar using buttons or hotkeys instead of Styles if you want to avoid creating things which appear next to the other Styles tabs. Ask if you need help doing that.
Since there are lots of steps in this I made a video showing what to do in case any of my instructions are unclear:
nudel.dopus.com/posts/recent_filter.wmv (4MB)
I've broken it down into small steps below so it might look complicated, due to the amount of text, but it isn't really.
Here's what to do:
Part 1: Make Opus treat the Recent folder as a normal folder
By default, the Recent folder is treated as a special "virtual" folder where some of Opus's features will not work. We need to tell Opus to treat the Recent folder as a normal folder so that we can use Opus's filtering ability.
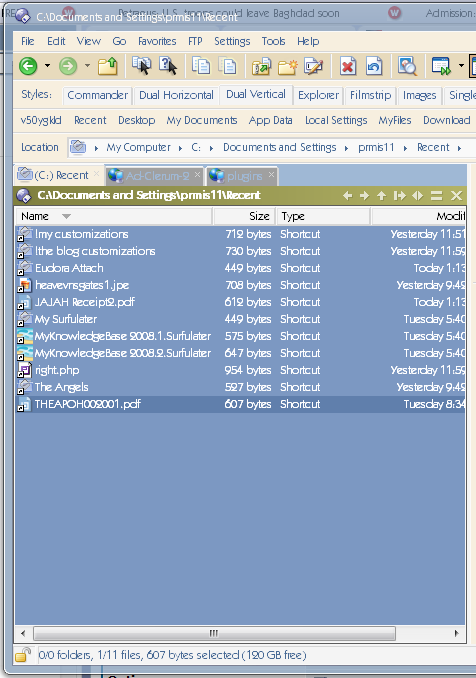
[ul][li]Go to your Recent folder by typing /Recent into the location field in Opus.
[/li]
[li]Copy the full path to the folder into your clipboard.
[/li]
[li]Open to Settings -> Preferences / Folders / Virtual Folders.
[/li]
[li]Click the Add icon above the list.
[/li]
[li]You'll be asked which folder you want to add. The path to your Recent folder should already be selected but if it isn't you should paste it in. Then click OK.
You should now see the path to your Recent folder in the list in Preferences.
[/li]
[li]Close Preferences by clicking OK.
[/li]
[li]Back in the main Opus window, type /Recent into the location field again. You should see the directory re-read and look slightly different now. (It might be difficult to tell the difference depending on your configuration. Don't worry if it looks the same.)[/li][/ul]
Part 2: Create a Style to display and filtered the Recent folder
[ul][li]Right-click the Styles bar and select Add Style. Call the new style Recent JPG or whatever you want.
Your new style should appear as a new tab.
[/li]
[li]Right-click the Styles bar again and select Edit Styles..., which will open the Preferences window showing all of your Styles.
[/li]
[li]In the list, select the Recent JPG style that you just created. Then, near the bottom of the window, turn on the Folder and Format checkboxes.
Doing this means that whenever you select this Style it will go to the Recent folder and also apply a folder format.
[/li]
[li]Click the Edit... button next to the Format checkbox.
[/li]
[li]In the window that appears, click on the Filters tab. Enable the Show Filter at the top and type this in the Filename field:
*.jpg.lnk
(Why the .lnk on the end? Because the Recent folder shows a list of shortcuts and shortcuts are really files with a hidden .lnk extension on the end. So a shortcut to Hello.jpg would really called Hello.jpg.lnk, but the .lnk part of the name is always hidden.)
[/li]
[li]Click OK and then click OK again to save your changes and exit the Preferences window.[/li][/ul]
If you now click on the Recent JPG tab you should see just the .JPG files in your Recent folder.
Part 3: Make more Styles with different filters
All the hard work is done now. You can use the Recent JPG Style as the basis for other filters:
[ul][li]Right-click the Styles bar again and choose Edit Styles... again.
[/li]
[li]Select the Recent JPG style and click the Duplicate icon above the list.
[/li]
[li]Call the new Style Recent TXT (or whatever you want).
[/li]
[li]The only thing you need to change in the new style is the filter. Click the Edit... button next to Format again, and go to the Filters tab. Change the filename filter from *.jpg.lnk to *.txt.lnk (or whatever you want).[/li][/ul]
Repeat as necessary to create the tabs that you need.
If you want a tab to display more than one type of file then that is easy enough. If you wanted to show all .JPG and .TXT files then you would use this as the filename filter:
*.(jpg|txt).lnk
You can put as many extension as you want within the ( ) brackets with a | pipe character before each one.