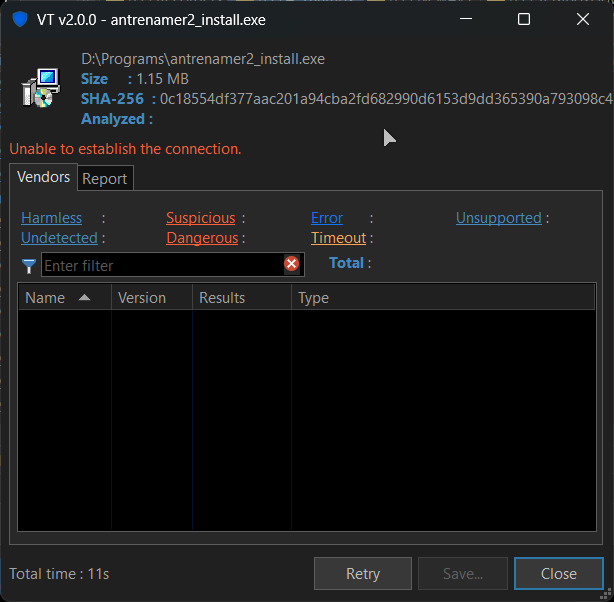
VirusTotalCommand v2 ( or VT to abbreviate) is a script add-in command for Directory Opus, that helps you to find threats in files, by using the VirusTotal API.
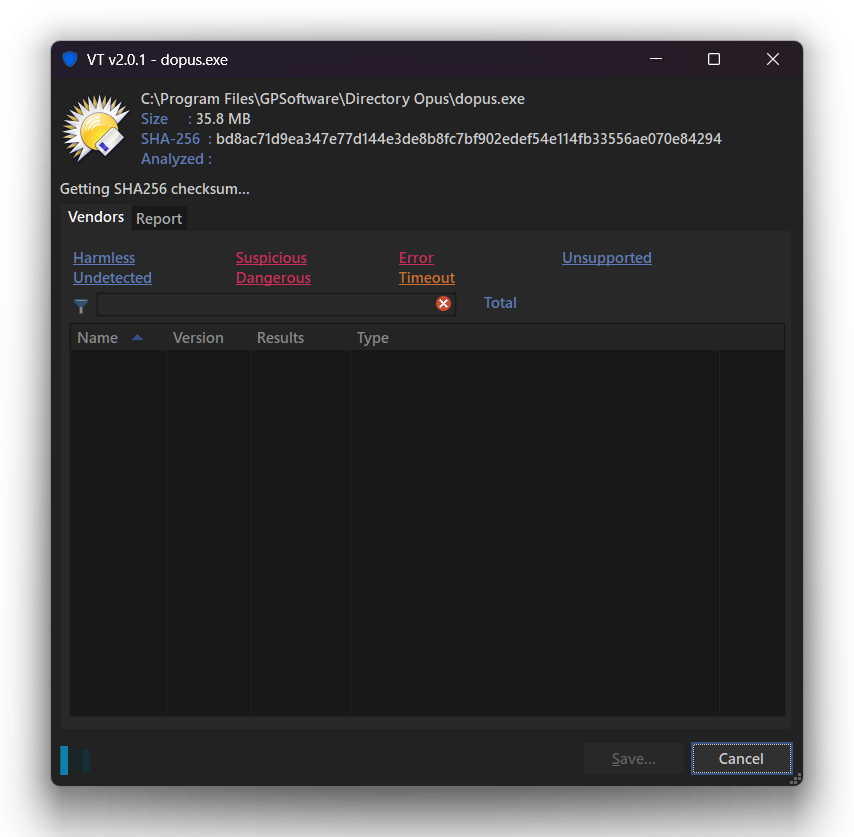
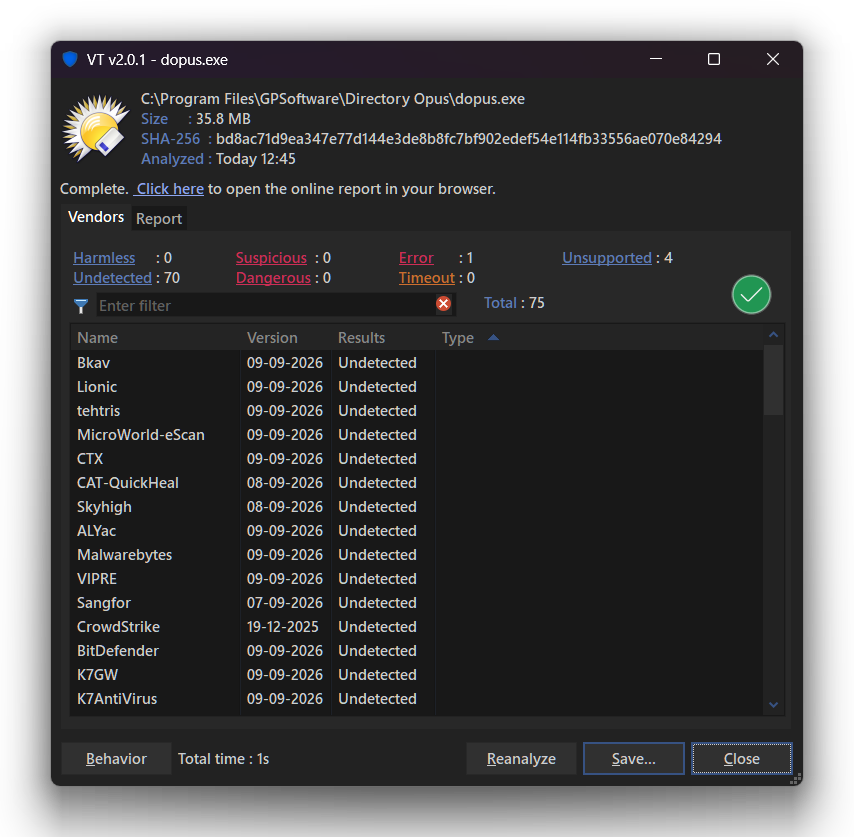
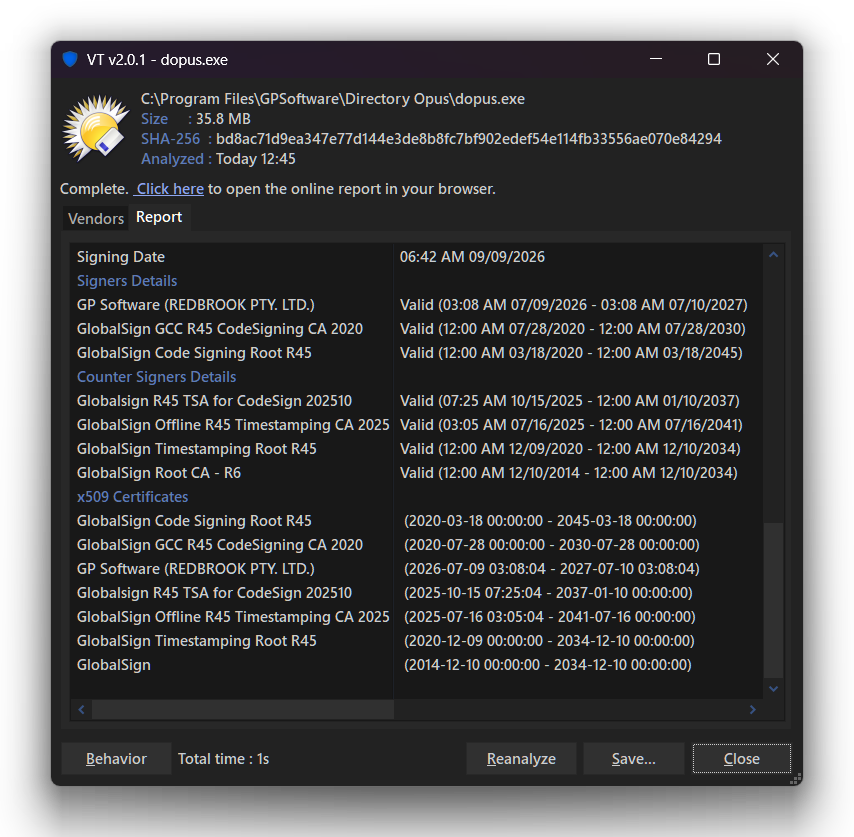
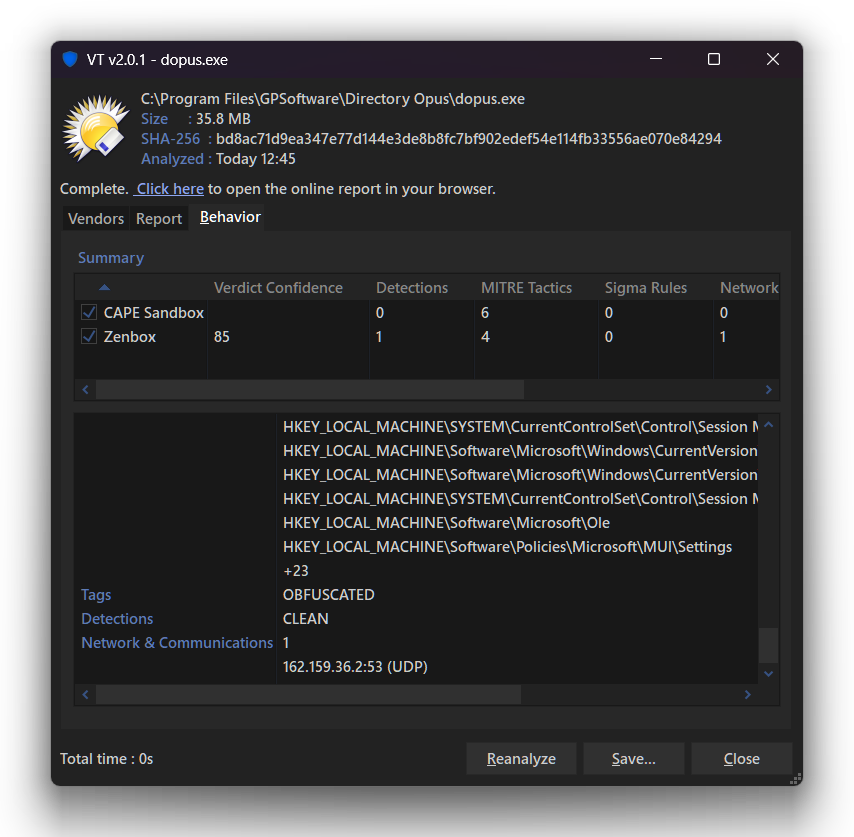
Key Features:
- Based on the old VirusTotal Command script add-in. Built from scratch.
- Automated process, including file upload if they do not exist in the database.
- Comprehensive report presented in an easy-to-use and understand interface.
- Ability to write reports to disk/clipboard as plain text or JSON formatted.
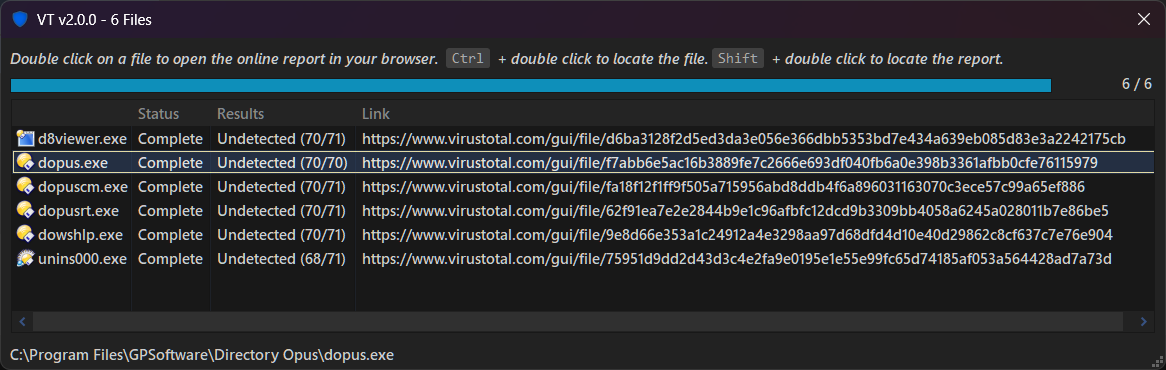
- Bulk mode, which lets you check for several files at the same time.
- You can check for file
behaviorright from the same window.
 IMPORTANT: READ BEFORE PROCEED
This script is provided "as is" and without warranty of any kind or whatsoever.
The user assumes full responsibility for its use and understands that the author is not responsible for possible failures or loss of data.
Any feedback on possible improvements or bugs is welcome.
The program acts solely as an interface for the VirusTotal API. It does not provide one, and how you use it is entirely your responsibility.
IMPORTANT: READ BEFORE PROCEED
If you were using the v1.5.x, in order to make a clean transition, please read the HOW TO UPDATE FROM 1.x section before proceeding.
Requirements:
-
Directory Opus v13.24 or higher.
-
A VirusTotal API key.
Installation:
2.0.1: Download from here
Then install the script as usual.
Options:
In the Script Management window, select VT and click on the Configure button.
-
log level : Logging level to be displayed.
- OFF to show only errors.
- DEBUG to show all messages.
- STANDARD to show only the most relevant information.
- WARNING to show messages that need your attention.
-
max timeout : Maximum time in seconds to wait for a connection. Set to 0 for no timeout.
-
force full report after analysis : Set to True to retrieve a full report after you get an analysis report. Note that this will result in an extra request per file.
-
max threads : Maximum number of files to process simultaneously when using the
AUTOMATEargument. -
allow multiple instances : Allow running multiple instances (only when
AUTOMATEis not used).
Basic Usage:
The first time you attempt to use the command, if no API key is saved, you will be prompted to enter one. (You can also set it using VT SETKEY).
To scan a file, you can use: VT FILE={filepath$}.
To scan multiple files, you need to use the AUTOMATE argument. E.g. VT FILE={allfilepath$} AUTOMATE=json will check all the selected files and save the report as JSON.
When no file is specified, it will use the first file loaded into the command (usually selected files from the source file display).
You can start a new scan by dropping a valid file into the main window.
A valid file needs to be a local file whose size is lower than 650 MB.
In the main window, now you have several options to choose from, which include seeing the report for all the vendors and filtering them (including a quick filter by clicking its group).
You can also see the full details, including information for file signatures, if present.
You can also ask for the file's behavior by clicking the Behavior button, which lets you see how the file interacts with your system.
You can also ask for a reanalysis or retry the last operation if it failed.
Command Arguments:
VT supports the following arguments:
| Argument | Type | Value | Desc |
|---|---|---|---|
| FILE | /M | Full path of the file (or files) to scan. Note that multiple files are allowed only when used in conjunction with the AUTOMATE argument. If not provided, the command will use the files passed to it (which usually are the selected files in the source file display). |
|
| AUTOUPLOAD | /S | If the file is not found in the VirusTotal database, the command will ask whether you want to upload the file for analysis. Use this argument to bypass the prompt and upload automatically if necessary. | |
| URLTOCLIP | /S | Copy the VT URL of the scanned file to the clipboard. | |
| AUTOMATE | /O | In this mode, multiple files can be processed simultaneously. Note that you can use clip along with the other values (txt,clip to save to clipboard as txt) |
|
| json | Save the report as a JSON (the raw response obtained from VT). | ||
| txt | Save the report as plain text. | ||
| clip | Save the report to the clipboard instead of disk. | ||
| BEHAVIOR | /S | Include file's behavior when doing a scan. Not available when using AUTOMATE. |
|
| OUTPUT_DIR | /K | By default, the script will try to save the report in the same folder as the scanned file (in AUTOMATE mode) or ask you for a location. Using this argument you can define a location. |
|
| ask | Directly ask for the location in all modes. | ||
| SETKEY | /S | Open the dialog to set your API key. | |
| DELKEY | /O | Prompt for deleting the currently saved API key. | |
| quiet | Quietly delete your currently saved API key. |
How to update from 1.x:
In order to keep your key registered so you don't need to re-enter it, you need to have installed at least v1.5.2. Then:
- Uninstall the old v1.5.2 via the Script Management window (NOT by any other method).
- Install the new version from here.
That's it.
Note that although this version is the continuation of the old one, Opus will see this one as a brand new, different script add-in (because this one is a package). And you can't have the two installed at the same time because they will interfere since both have the same command name.
Given that, whenever you try to use the old one, it will be auto-uninstalled if it detects that the new version is also installed.
Notes:
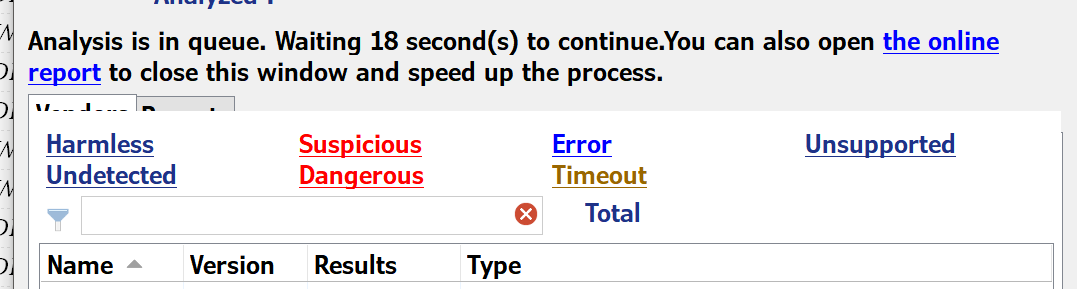
- If a file is not found in the database, you will be asked if you want to upload it for analysis. If you choose to proceed, the command will handle the upload. Note that the analysis remains queued for a while. You can either wait with the window open (which will try to fetch the report periodically) or open the provided link in your browser (doing so usually skips the waiting period), after which the command will finish. In
AUTOMATEmode, ifAUTOUPLOADis also used, the command uploads the file if needed and then provides the result URL before finishing. - Typically, the free API version allows 4 requests per minute. This is especially important if you plan to use multiple threads with the AUTOMATE argument. For detailed information, please visit VirusTotal API Documentation.
- The command uses one request per file, even when this implies uploading the file (this does not consume API requests) and waiting for a response.
- When you upload a file, you receive a slightly less detailed response. To obtain the full report,
force full report after analysismust be enabled, which will consume 2 credits per file if applicable. - Due to free API limitations, only files of 650 MB or smaller can be uploaded.
- Asking for a file's behavior will consume an extra request.
BEHAVIORis ignored when used along withAUTOMATE. - You can drop a single file into the main window, but it will be ignored in
AUTOMATEmode. - If you installed v1.5.2 and followed the steps correctly, you shouldn't need to re-enter your key, since the transition will be handled transparently to the user.
- In the Behavior tab, the results are a summary of all the data collected from all the sandboxes. You can filter them based on which sandboxes you want to see by using the checkboxes next to each name.
Acknowledgments:
- VirusTotal
- OpusDevelopers as usual.
Changelog:
v2.0.1 (Sep 09, 2026) :
- It now specifies whether the error message is due to a connection timeout.
- Increased the default timeout value to 90s.
- In non-automated mode, when retrying a file upload, the user is no longer prompted again, and the TIMEOUT is disabled as well (since this is usually what causes the upload to fail).
v2.0 (Sep 04, 2026) : Initial release