Iconset Maker
updated : 8/11/2024
theme change and bugfix
updated : 11/07/2024
xml utf encoding fix
updated : 5/2/2024
- iconified
- dpi scaling added
- refactored
see end of post for download
old version is V12 compatible, new version is V13
For creating Directory Opus .dis icon sets
INSTRUCTIONS
Step 0 : Add the .dis extension to Preferences/Zip Files - Zip file extensions.
Step 1 : Install the button (old) or script (new) at the end of this post – see (How to use buttons and scripts from this forum)
Step 2: You need to put your icon-set folders somewhere, so make a folder and call it something like ‘My Directory Opus Iconsets’.
Step 3: In this folder make another folder and call it something like ‘My first Directory Opus Iconset’.
Step 4: Put ‘montage.exe’ in your icon set folder (See end of post on how to get it) OR place montage somewhere else and put the path to it in script preferences.
Montage is a free small executable used to scale and stitch images into the two ‘icon sheets’ that Directory Opus will use for large and small icons. It is part of the suite of programs that come with Imagemagick.
Step 5: Put some images in this folder.
-only PNG images will be processed.
-Directory Opus has a ‘convert image’ button on the standard image toolbar.
-there is usually a convert ‘image option’ in the right-click context menu.
-the images can be any size and shape, square is best for icons.
-the results of scaling are better when scaling larger images to smaller images.
-you can drag & drop images directly from the browser.
Step 6: Name the images, the filenames will be used as the internal names for the icons,
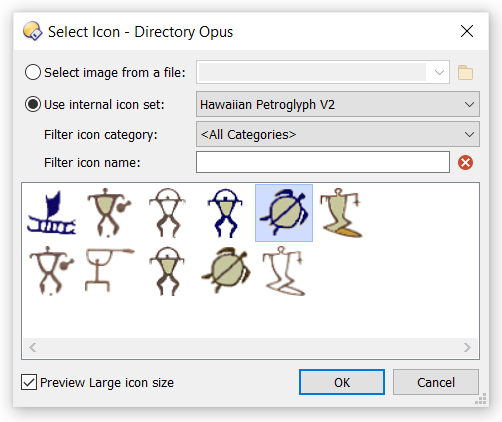
If you want the icons to automatically change then the new icon needs to have the same name as the old icons internal name (the name in brackets when hovering over an icon in the icon selection dialog) AND the icon set needs to be above the old icon-set.
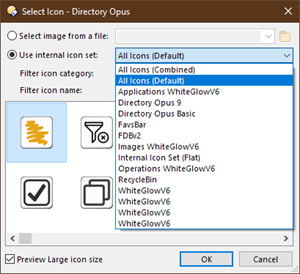
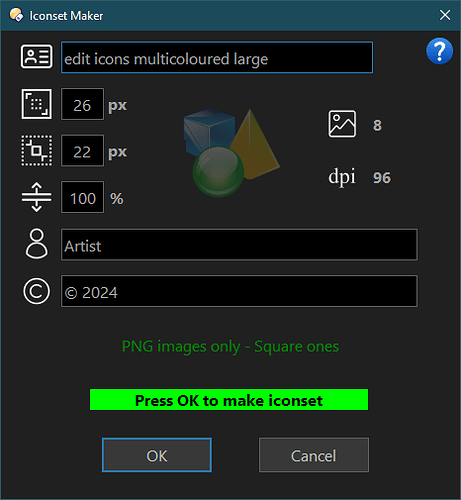
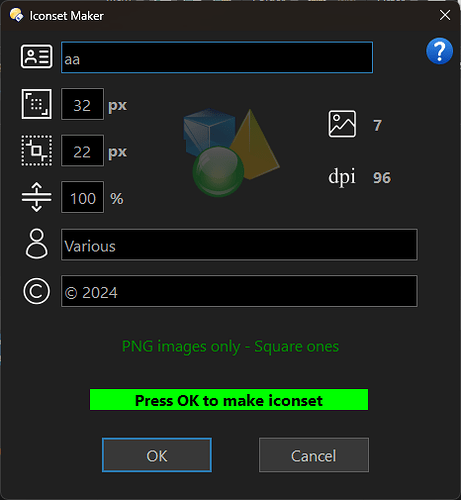
Step 7: Launch Iconset Maker, fill in the details, press OK.
When finished the .dis icon-set file will be in a newly created sub-folder, named something like ‘My first iconset (24px & 32px)’ and can now be installed from Preferences/Toolbars/Icons and clicking the ‘Import’ icon at the top of the list.
The folders are named this way so that you can have the same icon-set in different sizes.
Selecting a sub-folder before clicking the button will fill in the name and icon sizes in the dialog, otherwise the details will be remembered from your last session.
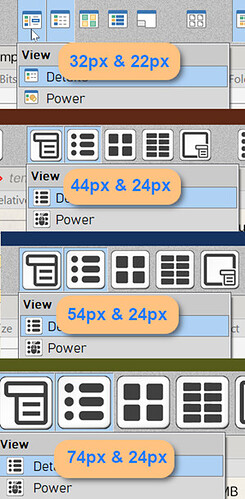
Directory Opus uses 2 icon sizes, when making iconsets it is best to keep one of the sizes (small) at around 22px so that your new icons can blend in with the default context menu icons. The image shows some possible combinations and the original icons for comparison.
Montage.exe
Download latest Imagemagick portable from the imagemagick website The portables are at the bottom of the page.
Extract montage.exe from the portable.
Or
UPDATE:
more recent version from 'ImageMagick-7.1.1-23-portable-Q8-x64'
montage.zip (9.2 MB)
The V12 button is here
Iconset Maker V2.dcf (42.6 KB)
Updated: V13 version is a script.
Install into scripts - see (How to use buttons and scripts from this forum) and make a button with the command IconsetMaker
Iconset Maker.opusscriptinstall (209.6 KB)
update: 02/03/2024 (now works in libraries)
Iconset Maker.opusscriptinstall (209.6 KB)
update: 11/07/2024 (utf encoding fix)
Iconset Maker.opusscriptinstall (209.7 KB)
update: 8/11/2024 (theme change and bugfix)
Iconset Maker.opusscriptinstall (210.1 KB)
Enjoy
